We handle publishing of Google Docs and Google Presentations in Moodle courses differently. We publish Docs by linking to them (see how here), and Presentations by embedding them in a Moodle page within your course shell. Here's the step-by-step:
1. Open your Moodle course in one browser tab, and Google Drive in another tab.
2. If you already have the presentation you wish to publish in your Google Drive, skip to step #4; otherwise, click the red "Upload" button, and browse for the file you need:

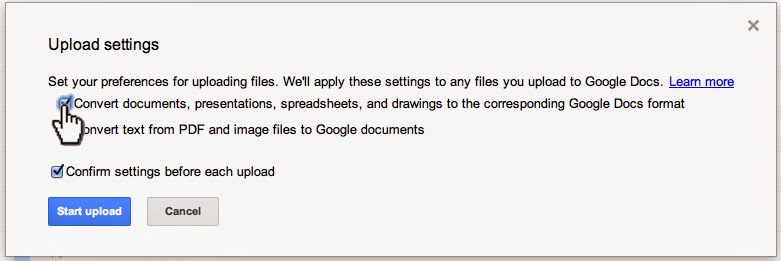
3. Make sure conversion is turned on (note: see how to set your Google Drive conversion settings here):
4. When you are in the editing interface for your Google Presentation, click File > Publish to the Web…

5. You will have a couple of confirmations to click through. Start publishing:

Are you sure (yes, of course I'm sure!):

6. You will get a dialog box that lets you configure the size of the presentation you are about to embed in your Moodle course. Choose "Small" presentation size, so that users on small monitors (think netbooks, etc.) won't have to scroll left and right to view your presentation. They can always choose to view it full screen:

7. Click in the "Embed code" field and copy it to the clipboard:

8. Now go to your Moodle course (that other browser tab), and make sure editing is turned on:

9. Click the "Add an Activity or resource" link in the content block where you want the link to appear (of course, you can always move it later):
10. Select "Page" near the bottom of the left pane:

11. Input in the "Name" and "Description" fields:

12. You may need to click the Toolbar Toggle…

… to get the "Edit HTML source" button visible to click:

13. This makes the HTML source editor dialog box appear. Paste the HTML from the Google Presentation (from step #7 above) into the input box, and click the "Update" button:

14. Click either the "Save and Return to Course" or "Save and Display" button at the bottom.

That's all there is to it. You don't need to redo the above steps if and when you want to edit your presentation; just access it in Google Drive and you're done - it's published and embedded in Moodle (and elsewhere, if you choose), so it's a live document to which your students will have one-click access, without needing anything more than a modern web browser. Cool, huh?
Comment below, and MOODLE ON.
No comments:
Post a Comment