By Miranda Dudzik:
When you publish a Google doc, you can either link it to your Moodle course, or embed it directly in a page.
Step 1: Navigate to your Moodle course.
- If you have not done so already, navigate to your published Google doc and copy the embed code that appears in the “Publish to the web...” window

- Navigate to your course and turn editing on:

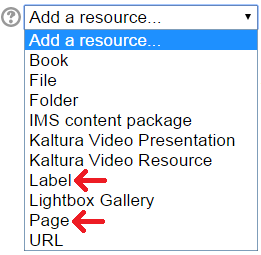
- You can either embed the document in a content section on the main course page as a new label, or in a new page. Navigate to the content section where you want the document or new page to appear, and click “Add a resource...” to access the pull-down menu. Select the option you want.
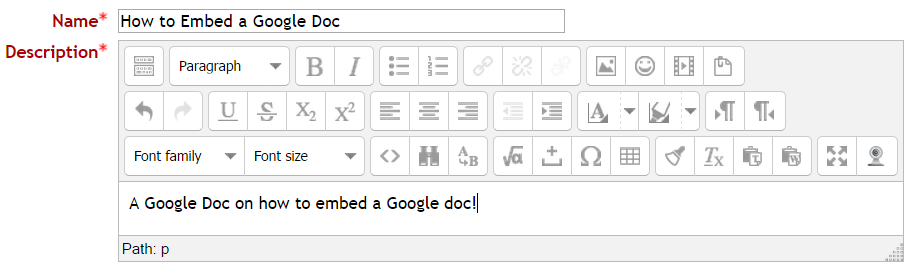
Step 2: Name the new resource.
- In the “Adding a new resource” page that opens, name your resource. If you are creating a new page, you will also need to add a description.
Step 3: Open the HTML source editor.
- If adding a label, there is only one text editor that appears. If adding a new page, scroll to the text editor in the Content section.
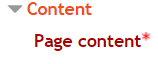
- Expand the editing toolbar (if it is not expanded already), by clicking on the Toolbar toggle icon in the top left corner of the text editor. The expanded editing toolbar is shown in the image below.
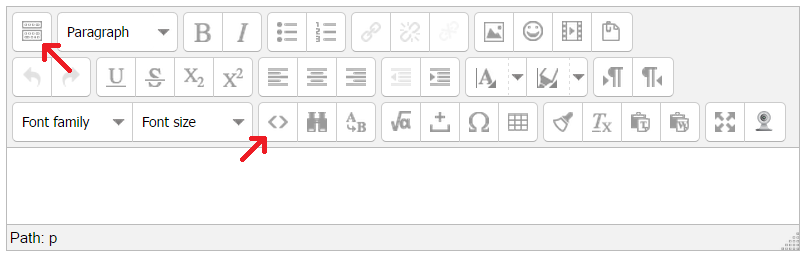
- To open the HTML source editor, click the HTML source icon.
(see image above).
Step 4: Paste embed code into HTML source editor.
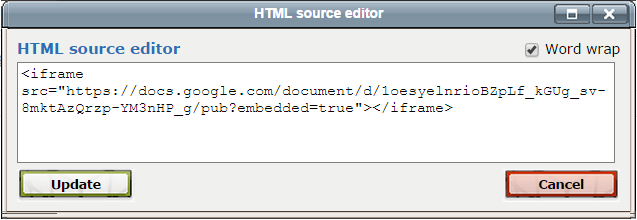
- The image above is what your HTML embed code should look like, the only difference being the actual URL for your Google doc.
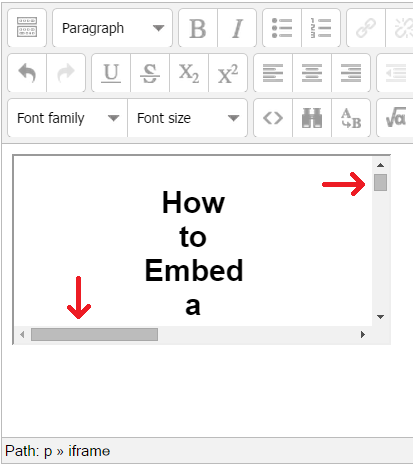
- Click “Update” to close the HTML source editor. You should notice that the Google doc is now displayed in the text editor, however, it is relatively small, and depending on the size of your document, there are scroll bars to the side and bottom of the frame window.
Step 5: Customize the size of the display frame.
- In order to enlarge the display frame and expand the view of the document, you need to add a snippet of code into the embed code that you just pasted in that will define the width and height of the display frame. That snippet is:
width="560" height="315"
The numbers in this snippet of code define the dimensions of the display frame. You can change these numbers to fit your desired size, as long as you do not change anything else in the piece of code.
This snippet must be added in directly after “<iframe” in your original source code, and right before “src=...”.
- For example, if your embed source code is :
<iframe src="https://docs.google.com/document/d/1oesyelnrioBZpLf_kGUg_sv-8mktAzQrzp-YM3nHP_g/pub?embedded=true"></iframe>
The snippet gets added like this (red font is only for demonstration purposes):
<iframe width="560" height="315" src="https://docs.google.com/document/d/1oesyelnrioBZpLf_kGUg_sv-8mktAzQrzp-YM3nHP_g/pub?embedded=true"></iframe>
- Reopen the HTML source editor and add the snippet of code as demonstrated above.

- Click “Update”. Your new display frame should look similar to this:
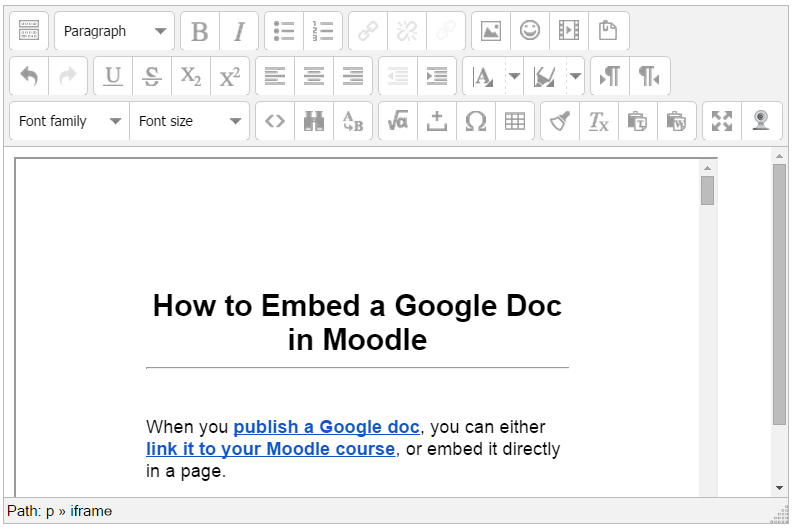
The scroll bars are still there, but the frame is much larger. You can adjust the numbers in the code snippet to make it bigger or smaller to fit your needs. The larger the numbers, the larger the display frame.
NOTE: You can use these instructions to embed Google docs in other places than just labels and pages. This technique also works in pages that you add to Lesson and Book activities as well.
Use caution when determining the size of your frame, if you make it too large it might display poorly in the page you put it in. Also keep in mind that large embedded files can be problematic for Moodlers who have small computer screens or who use mobile devices.
No comments:
Post a Comment